
Why Light Surface Patina Is Often the Ultimate Seller Trap
“Barn-find patina,” “original finish,” and “just a little surface rust” can sound reassuring when a project car is sitting in a seller”s driveway. The problem is that patina describes appearance, not strength. Genuine cosmetic oxidation may leave the underlying steel intact, while structural corrosion removes the metal that carries suspension loads, controls drivetrain movement, and keeps the passenger cell square. A running engine, rare trim, or attractive faded paint cannot compensate for a chassis that is no longer safe to support on a lift or carry down the road.
Rust begins when steel, oxygen, and moisture combine, but the damage often develops in places that are difficult to see. Water can travel by capillary action into seams, folded flanges, spot-welded joints, and boxed frame rails. Road dirt holds that moisture against the metal long after the visible surface appears dry. Salt and de-icing chemicals make the electrolyte more conductive, accelerating the reaction. Undercoating can then preserve the evidence of a problem by hiding bubbling paint, swollen seams, and perforation until a screwdriver or lift point breaks through.
The financial dividing line is straightforward. A car with thin surface oxidation may need cleaning, rust treatment, primer, and protective coating. A car with delaminated rails, rotten torque boxes, or failed suspension mounts may need extensive cutting, bracing, fabrication, alignment work, and professional welding. That can transform a manageable DIY restoration into an unsafe parts car. Before getting emotionally attached to a model or specification, inspect the load-bearing metal as if the vehicle were an engineering structure, because that is exactly what it is.
Surface Oxidation Versus Structural Delamination
Rust is not a single condition. Flash rust is a light orange film that can often be removed without measurable loss of section thickness. More advanced corrosion creates rough, granular scale and raised edges around seams. Exfoliation is more serious: corrosion spreads between layers of steel, forcing them apart and producing swollen, flaky sections. When flakes can be lifted away in sheets, the original thickness may already be substantially reduced. Perforation, visible holes, and soft metal indicate that the component has crossed from cosmetic deterioration into structural concern.
| Observed condition | Likely meaning | Buyer response |
|---|---|---|
| Thin orange film with firm metal beneath | Surface oxidation | Clean, inspect, and protect |
| Granular scale and bubbling seams | Section loss may be developing | Remove scale and test the underlying steel |
| Layered flakes, swollen rails, or split seams | Structural delamination | Assume repair is required until proven otherwise |
| Holes, soft spots, detached mounts, or visible cracks | Compromised load path | Do not drive; obtain a structural repair assessment |
Boxed rails are especially deceptive because they can rust from the inside out. Condensation, water entering through drain holes, and mud trapped at the ends of a rail can attack the inner surfaces while the exterior still carries paint or factory sealer. Unibody cars present the same danger at overlapping panels. A floorpan may look acceptable from inside the cabin while the rail beneath it has lost thickness, or a rocker may appear solid externally while its inner reinforcement has collapsed.
The Field Inspection Toolkit Every Buyer Must Pack
A useful inspection kit does not need to be elaborate, but it must allow the buyer to see, reach, and test questionable metal. Pack a bright inspection light, safety glasses, gloves, a small mirror, a brass-tipped scratch awl, a brass dead-blow hammer, a magnet, a camera, and a flexible borescope with an onboard light. Brass tools are preferable to aggressive steel picks because they can probe weak areas while reducing the risk of gouging sound metal or creating damage that was not present during the inspection.
Use the pick test methodically rather than stabbing at random. First photograph the area and note whether the coating is factory material, fresh underseal, or a visibly recent repair. Brush loose scale away with a hand brush, then press the rounded tip of the awl into the surface near seams, mounting points, and drain holes. Sound steel resists moderate hand pressure. Corroded steel may crumble, flex, or allow the tip to sink unexpectedly. Test a series of points around the suspect area, because a single firm spot does not prove that the surrounding flange or boxed section is healthy.
- Clean loose dirt and scale without grinding away evidence.
- Probe from the edge of the suspect area toward known solid metal.
- Compare resistance, sound, and surface movement at several points.
- Inspect the opposite side and any accessible interior cavity with a borescope.
- Stop if the tool reaches a load-bearing cavity or if the structure moves under light pressure.
Acoustic tapping adds another useful comparison. A light tap from a brass dead-blow hammer on sound, supported steel often produces a relatively sharp ring. Delaminated layers, trapped scale, and unsupported thin metal tend to produce a dull thud or a rattling response. Sound changes are most valuable when compared across the same panel, not interpreted as an absolute pass or fail. Fresh undercoating can alter the noise, and a hollow section is not automatically unsafe, so acoustic evidence must be combined with visual and physical testing.
Legal inspection rules provide a useful safety baseline, but they do not replace engineering judgment or a thorough pre-purchase inspection. State standards vary, and many focus on whether a vehicle is acceptable for registration rather than whether it is a sensible restoration investment. Pennsylvania”s detailed vehicle equipment and inspection regulations, available through Pennsylvania vehicle inspection regulations, are a valuable reference for understanding how chassis, body, steering, suspension, and related defects may be treated under a formal safety inspection.
High-Risk Failure Zones You Cannot Afford to Overlook
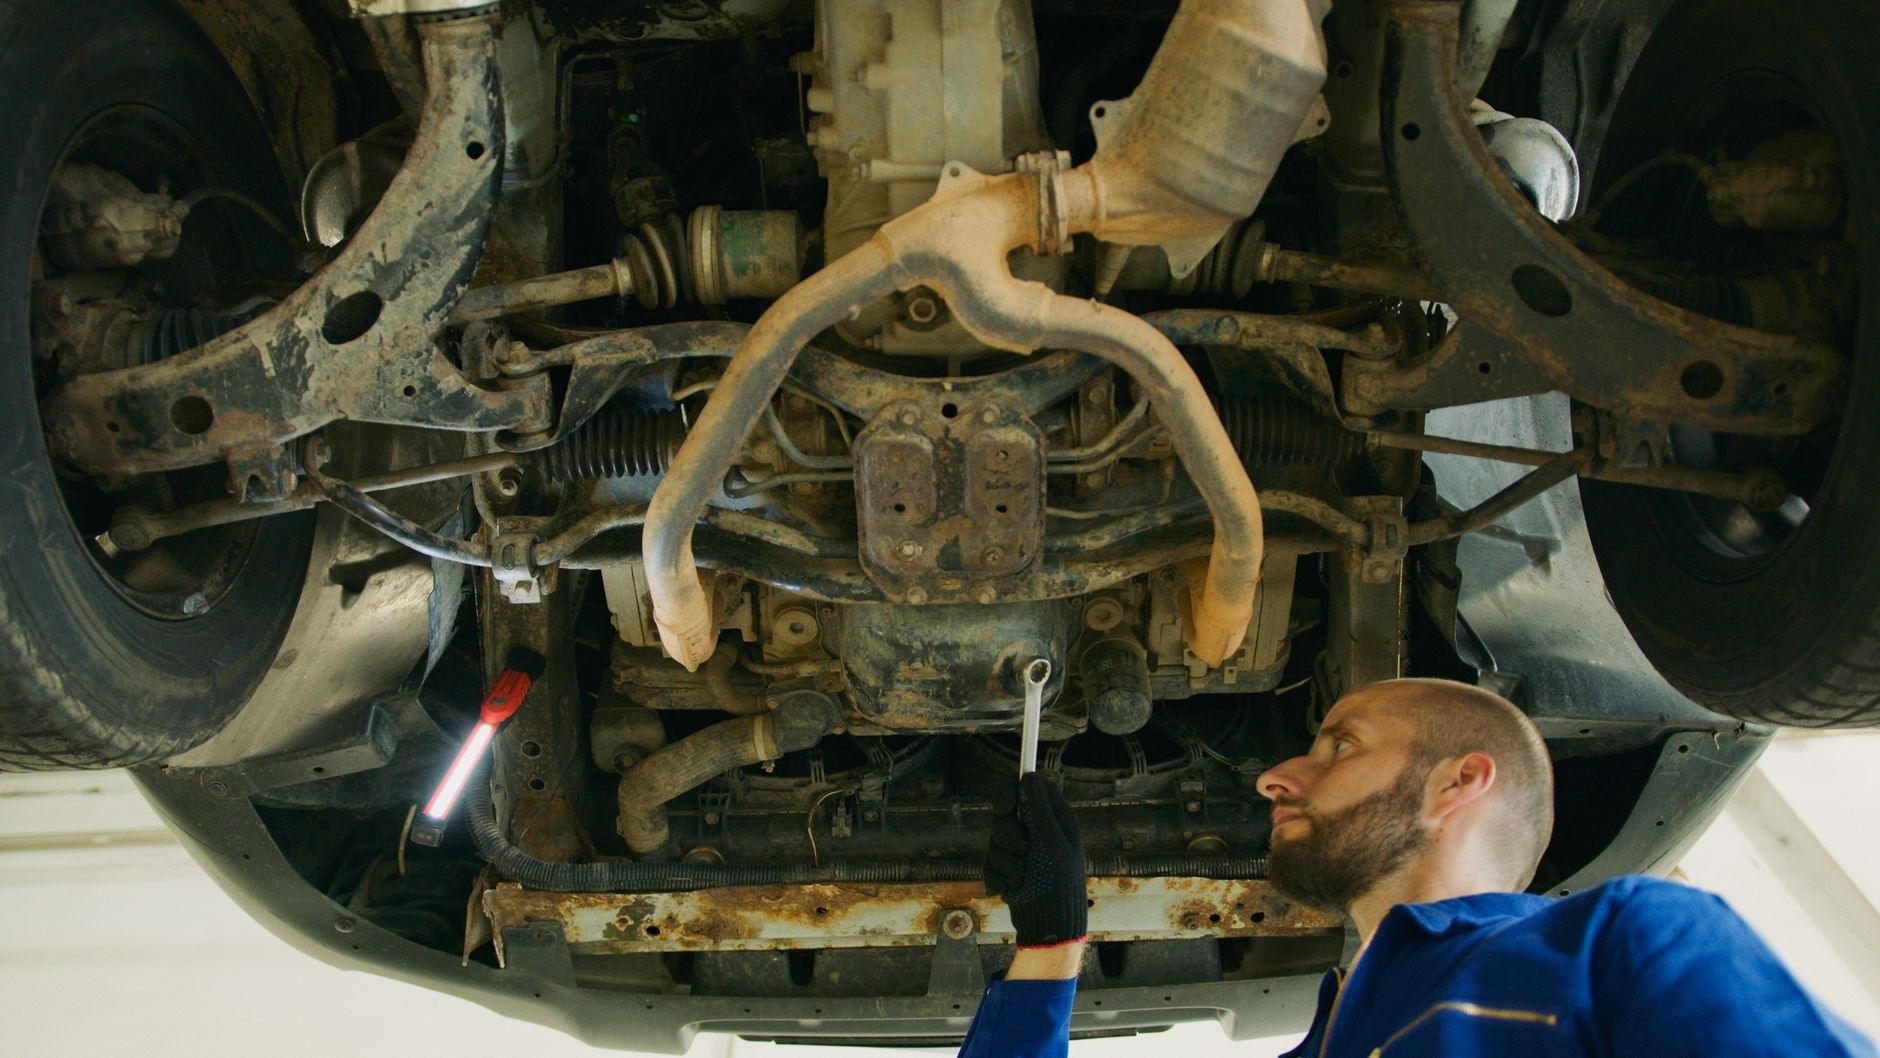
Start with torque boxes and suspension pick-up points. A torque box is a reinforced area that transfers twisting forces between the body, frame rails, and suspension structure. Every acceleration event, hard stop, corner, and gear change loads these regions. Weak seams may remain quiet while the vehicle is stationary, then deform when drivetrain torque or suspension force is applied. Look for crushed flanges, cracked seam sealer, elongated bolt holes, and rust lines radiating from control-arm, leaf-spring, crossmember, or subframe mounts.
On unibody cars, pinch welds and rocker structures function as both reinforcement and water-catching gutters. Dirt packed behind a plastic shield or folded flange can remain damp for months. Inspect the full length of the rocker, including the inner side, jacking points, door hinge areas, and transitions into the floorpan. Strut towers and firewall seams deserve equal attention because they carry suspension and steering loads. Cracks around spot welds, wrinkled metal, or a tower that has changed shape may indicate previous collision damage as well as corrosion.
- Torque boxes, spring mounts, and control-arm attachment points
- Unibody pinch welds, rocker interiors, and jacking points
- Strut towers, shock mounts, and upper suspension reinforcements
- Firewall seams and floorpan-to-frame-rail transitions
- Engine cradles, K-frames, rear subframes, and their mounting brackets
- Areas where brake, fuel, and electrical lines have trapped moisture against steel
Engine cradles and rear subframes deserve separate scrutiny because they combine structural duty with exposure to road spray and salt. Cracks near welded brackets, corrosion around bushings, and movement at mounting points can change suspension geometry or prevent an alignment from holding. Warning signs during a road test include clunks, abnormal tire wear, steering changes, and repeated alignment problems, although those symptoms can also come from worn suspension parts. Before committing to a vehicle with a known subframe history, search the VIN and model information through NHTSA safety recall records. For example, certain 2014 through 2023 Honda and Acura vehicles were associated with a rear subframe corrosion safety recall in regions where de-icing agents are heavily used, reinforcing the need to inspect mounting structures rather than relying on mileage or appearance.
Evaluating Repair Feasibility Before Making an Offer
Once corrosion is confirmed, determine whether the repair is a replacement job, a patch-panel job, or a bespoke structural reconstruction. Reproduction floorpans, rocker panels, torque-box sections, and frame-rail components can make a common model viable, particularly when the repair panels match the original gauge, shape, and attachment points. Rare models may require hand-fabricated sections, careful reconstruction of boxed cavities, and extensive bracing to preserve geometry. A flat plate welded over a rotten rail is not automatically a structural repair. The replacement metal must restore the load path, close the cavity correctly, and be attached to sound surrounding steel.
Check alignment before making an offer that assumes the chassis is straight. Measure diagonally between documented datum points with a tram gauge, compare left and right dimensions, and look for differences in suspension ride height, wheel position, door gaps, and rail height. Measurements should be taken with the car supported in a way that does not distort the body. If the structure is badly corroded, temporary support and professional measuring may be necessary before cutting anything, because removing a weakened panel can allow the shell to shift.
- Price correct reproduction panels, not merely generic sheet steel.
- Budget welding wire, shielding gas, cutting discs, abrasives, clamps, and corrosion protection.
- Include bracing, a rotisserie or secure lifting system, and safe workshop space.
- Allow for hidden rust discovered after paint, underseal, or interior removal.
- Add bushings, fasteners, alignment work, and possible subframe replacement.
- Obtain a professional quote when the repair involves suspension, steering, or seat-belt mounting structures.
The most expensive mistake is calculating only the visible hole. Structural rust spreads beyond the opening, and access may require removing the interior, fuel system, exhaust, glass, wiring, or drivetrain. Custom sleeving can also create clearance and heat-management problems if the original geometry is not reproduced. Compare the complete repair budget with the cost of a solid donor shell. A cheap project is not a bargain if its first major task is to make the passenger compartment and suspension mounts safe.
Make the Smart Call at the Inspection Curb
Before handing over cash, complete a cold-headed structural checklist. Inspect the frame rails, torque boxes, floor transitions, rocker interiors, suspension towers, subframes, engine cradle, and every major mounting point. Probe suspicious areas, listen for changes in sound, use a borescope where cavities are hidden, and photograph everything before disturbing the coating. Confirm whether the car is sitting square, whether the doors and panels suggest movement, and whether previous repairs were welded into sound metal or simply covered with filler and underseal.
A rare interior, desirable engine, or attractive patina can be replaced more easily than a compromised chassis. Walking away from severe rot protects the restoration budget and leaves room for a car with honest, repairable steel. When the structure is sound, cosmetic work and mechanical recommissioning become controllable tasks. When the structure is failing, the safest and most financially disciplined decision is often to leave the project behind and keep searching for a shell that can become genuinely road-ready.

